

Shop Products
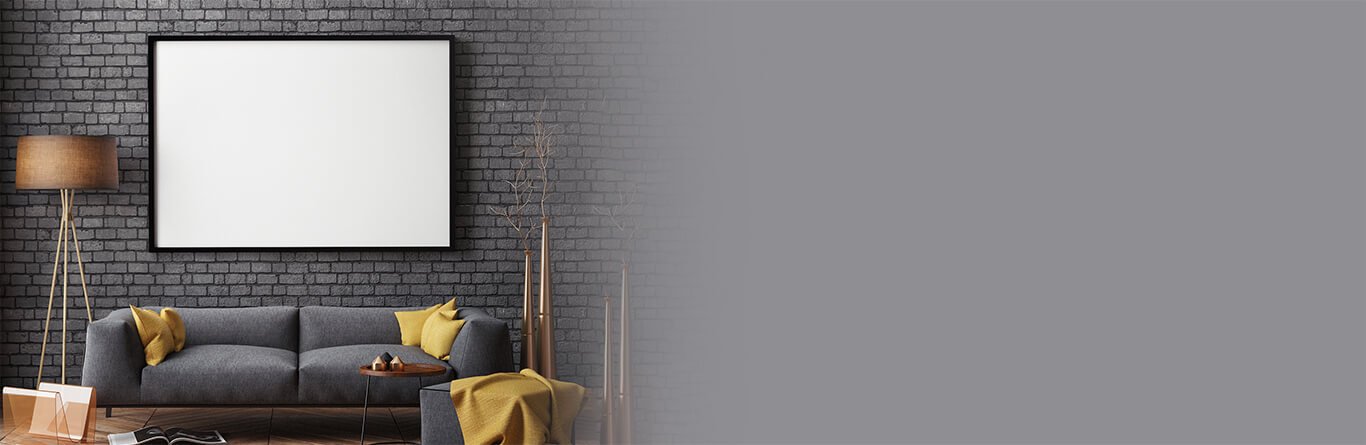
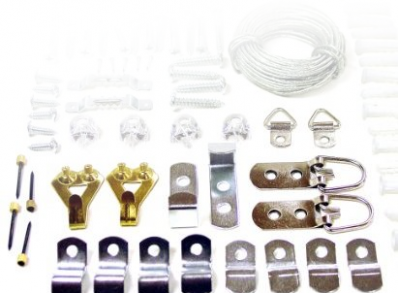
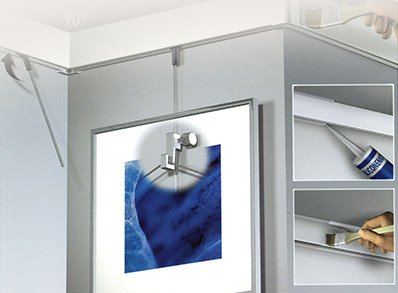
Van Uffelen Framing stocks the widest range of Picture Frames, Consumables, Framing Supplies, Hardware, Art Hanging Systems, and Unique, Preset Frame Designs in New Zealand with all products available online or instore.

- Artist & Photographers
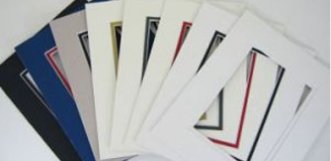
 The cost effective way to frame your arts and photos. Whether your exhibiting or displaying.
 - Commercial Services
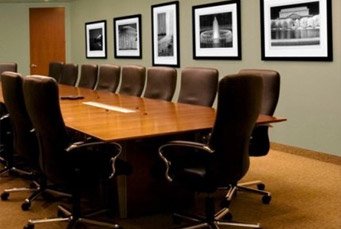 Corporate, Hospitality, NZDF Services, Schools, Sports Clubs or Museums talk to us
 - New Zealand Defence Forces
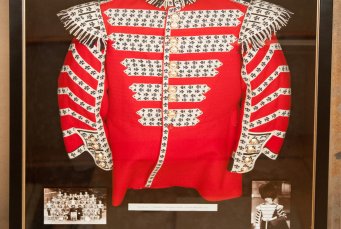 For all Memorabilia, Award and presento Framing
 - Framer to Framer Services
 Helping you take the stress out of large or tricky framing jobs
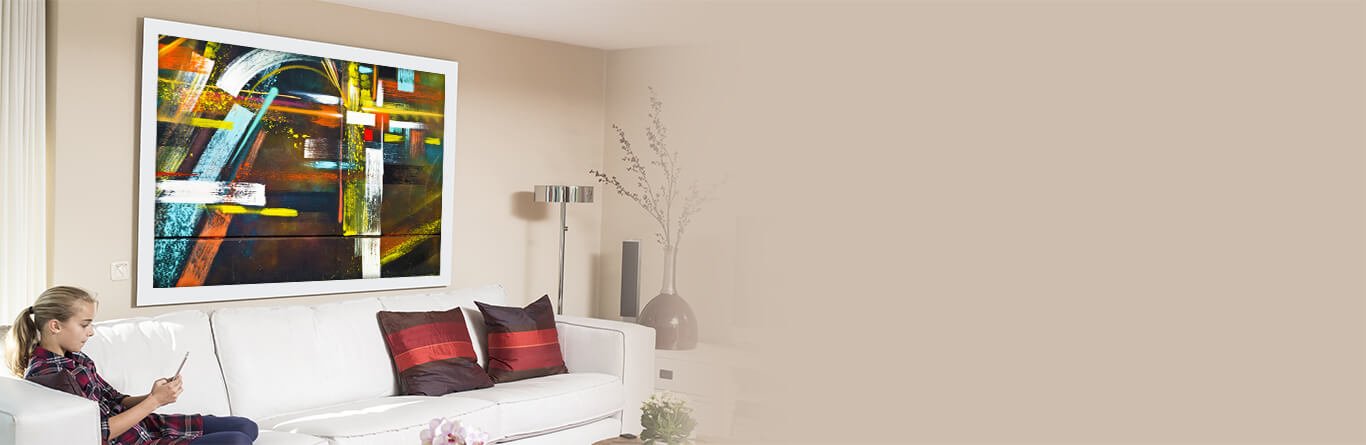
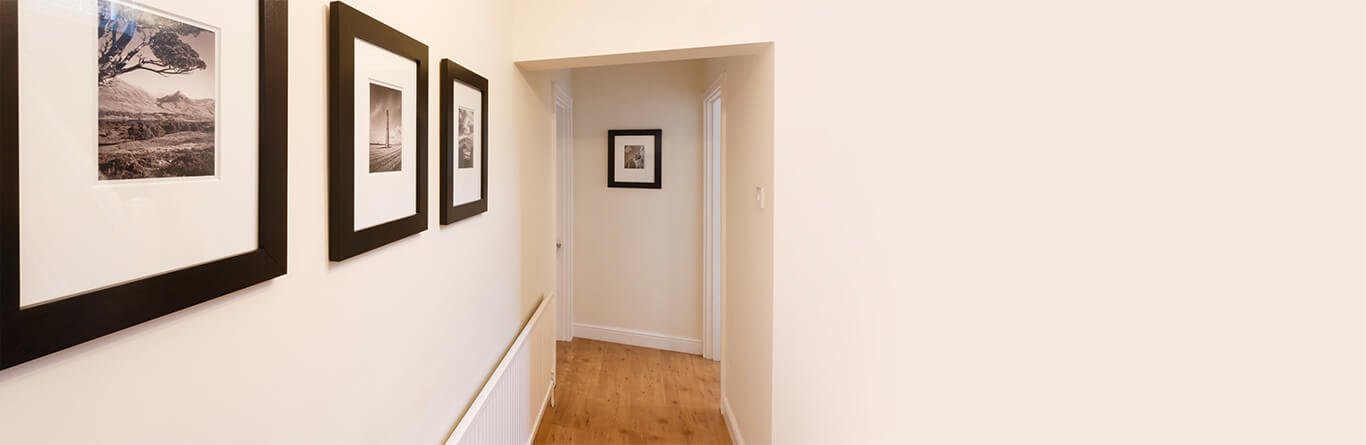
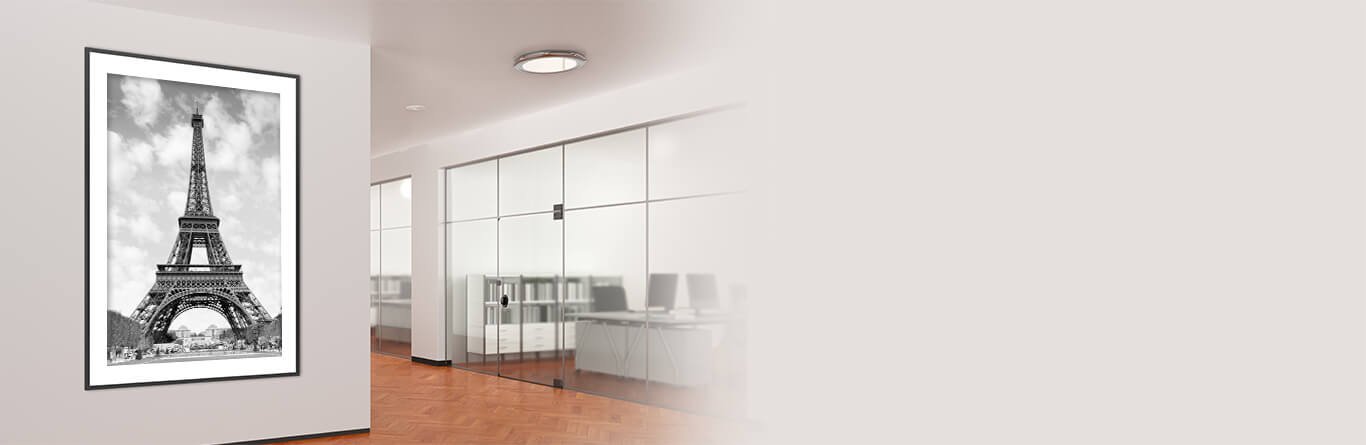
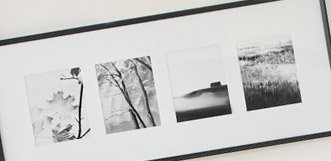
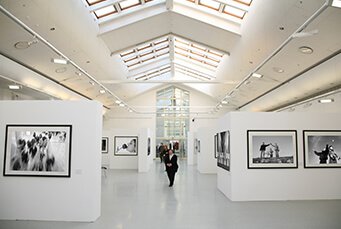
Van Uffelen Picture Framing Gallery
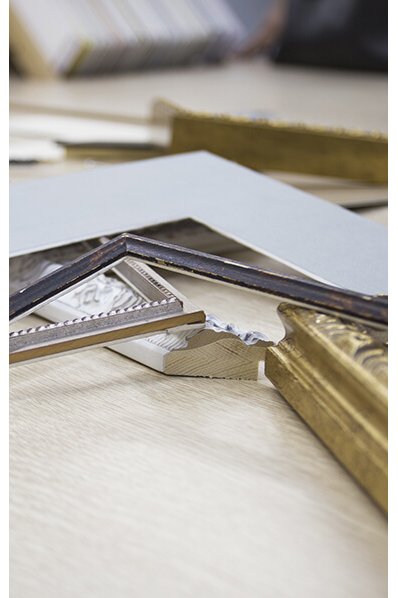
At Van Uffelen Picture Framing we can create a framing solution that best reflects your style, decor, and art. Our team of framers are experienced and use the latest techniques, materials and technology to make sure your framed item will be enjoyed for many years to come.
- Emphasis is on providing you with an outstanding experience online or instore, while working within a budget that works for you. There is no job too large, or too small.
- Our staff hold the most prestigious and internationally recognized range of qualifications related to framing and the care and preservation of artwork.
- Family owned and operated since 1987
- All workmanship carries a 5 year minimum guarantee.

View the Video below to see our business in action
